Photo Techniques - Blending Exposures
I don't think I have written much about photography techniques, so this may be a first.
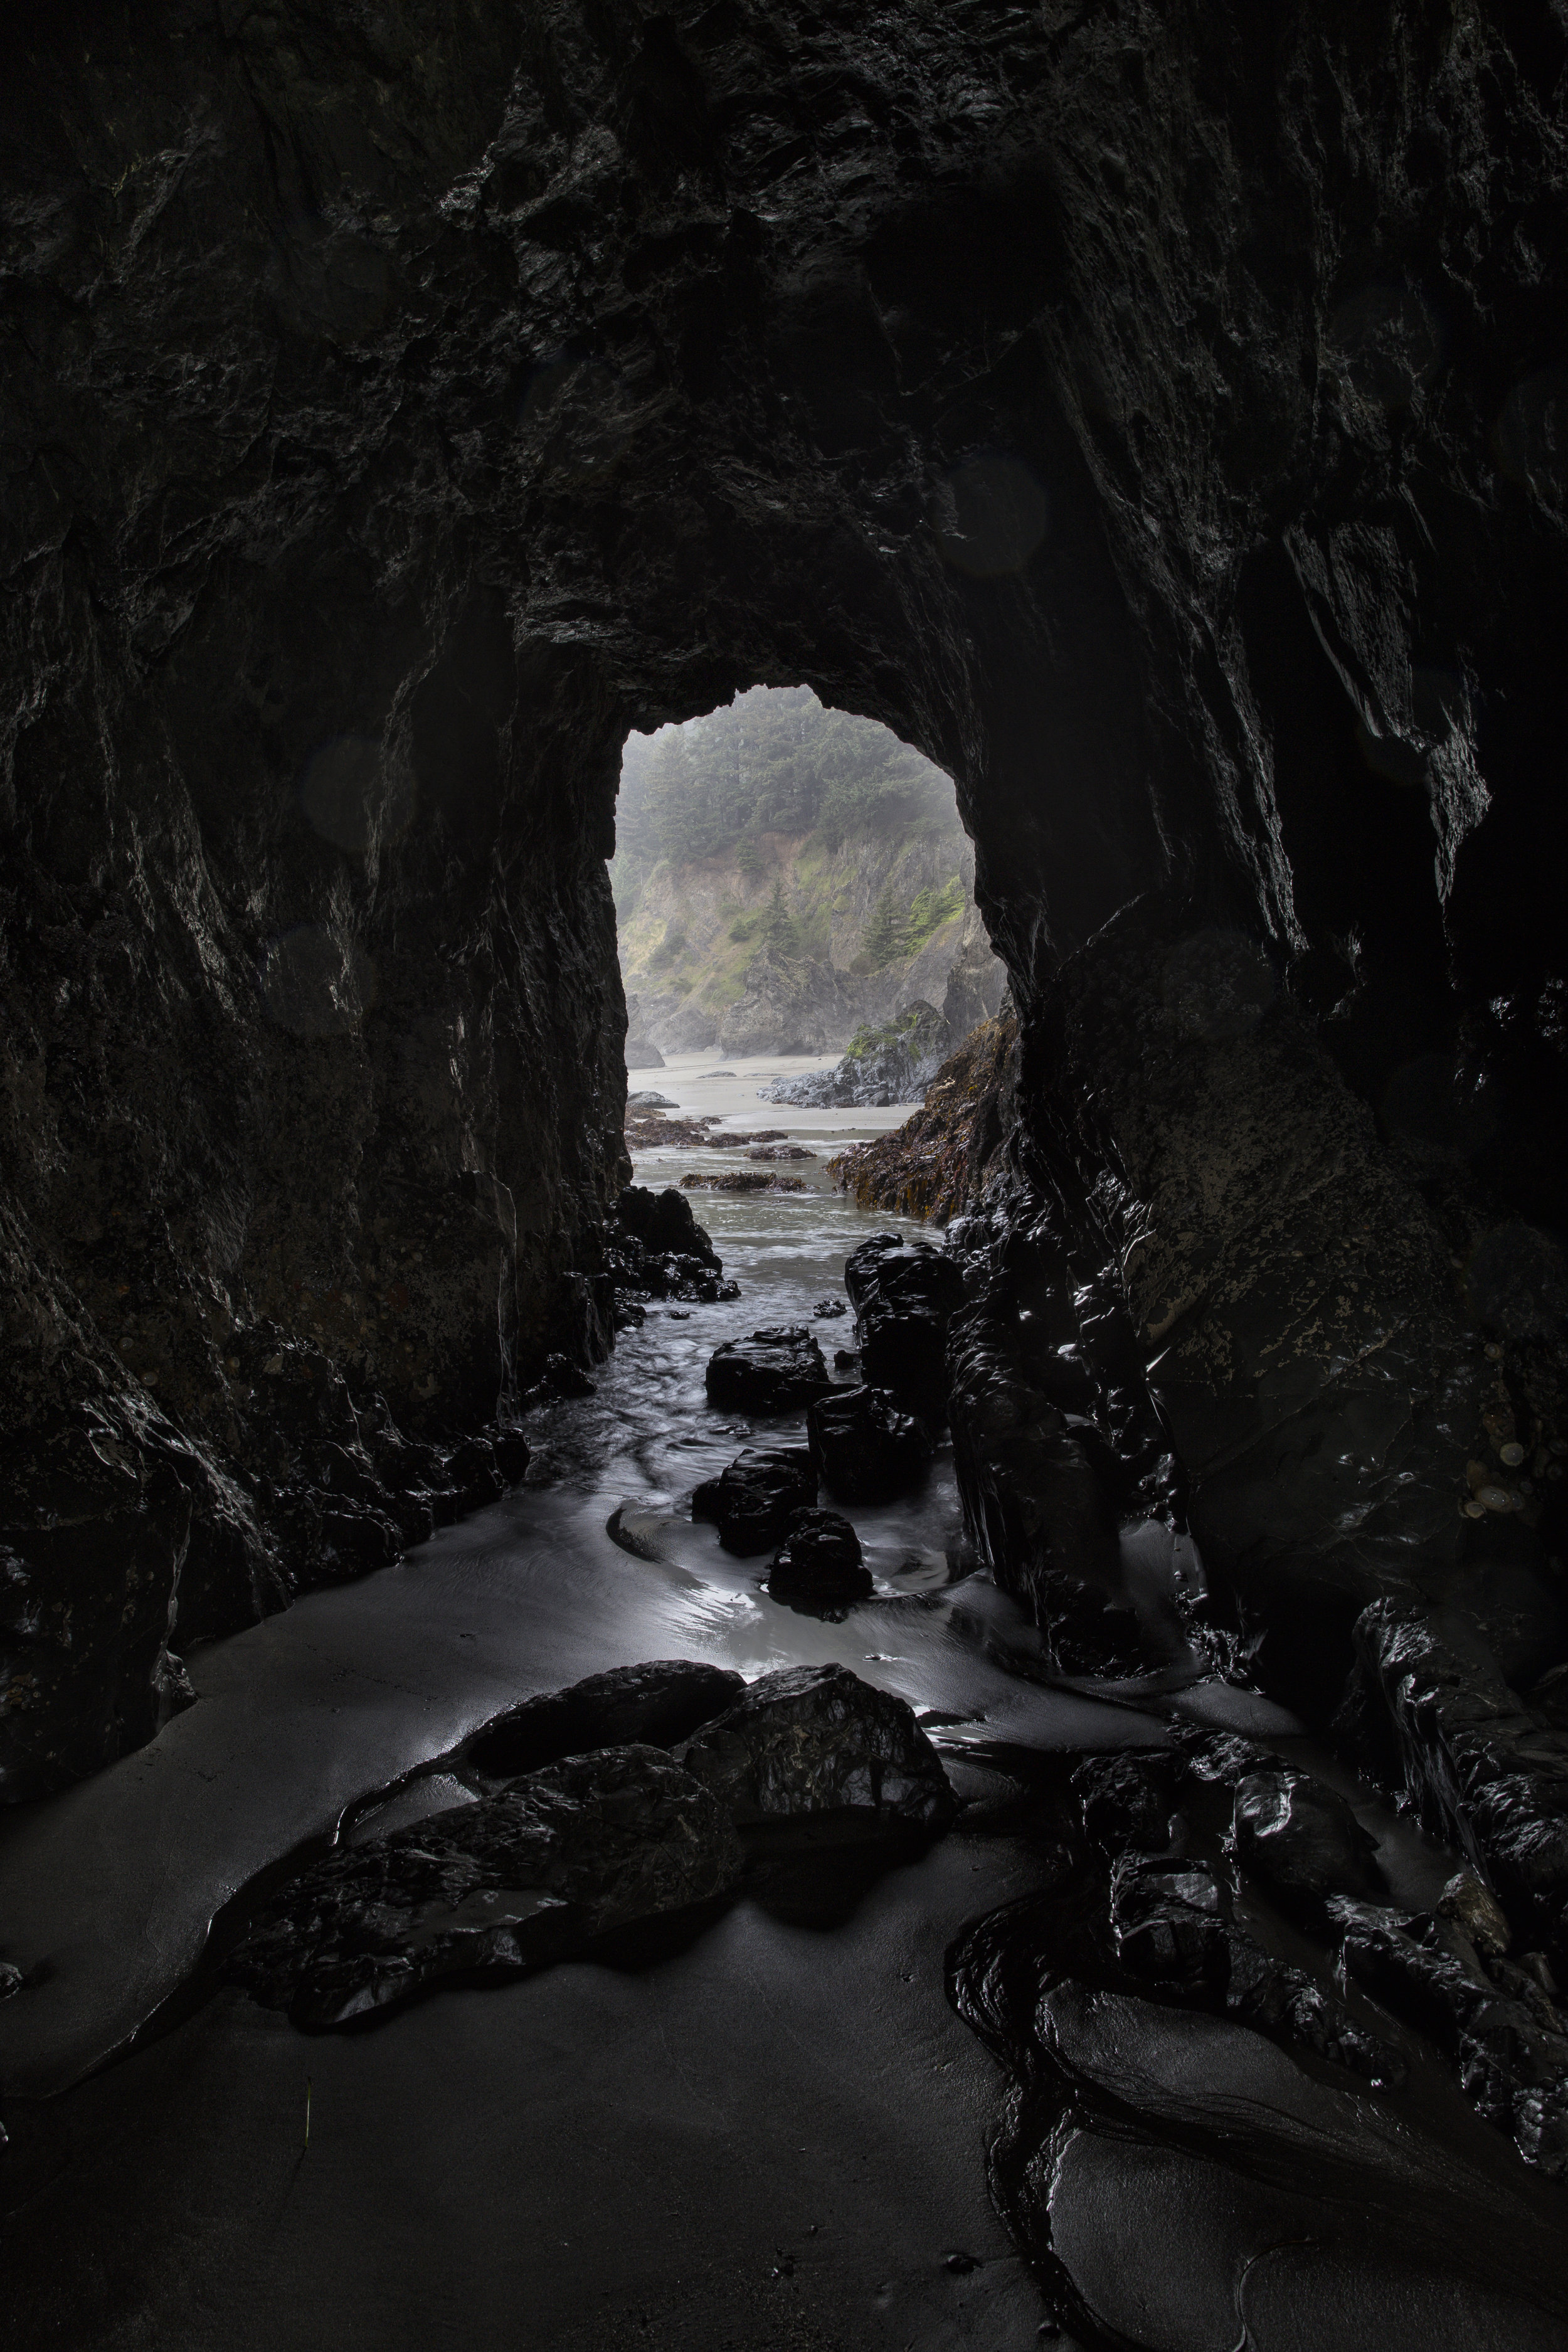
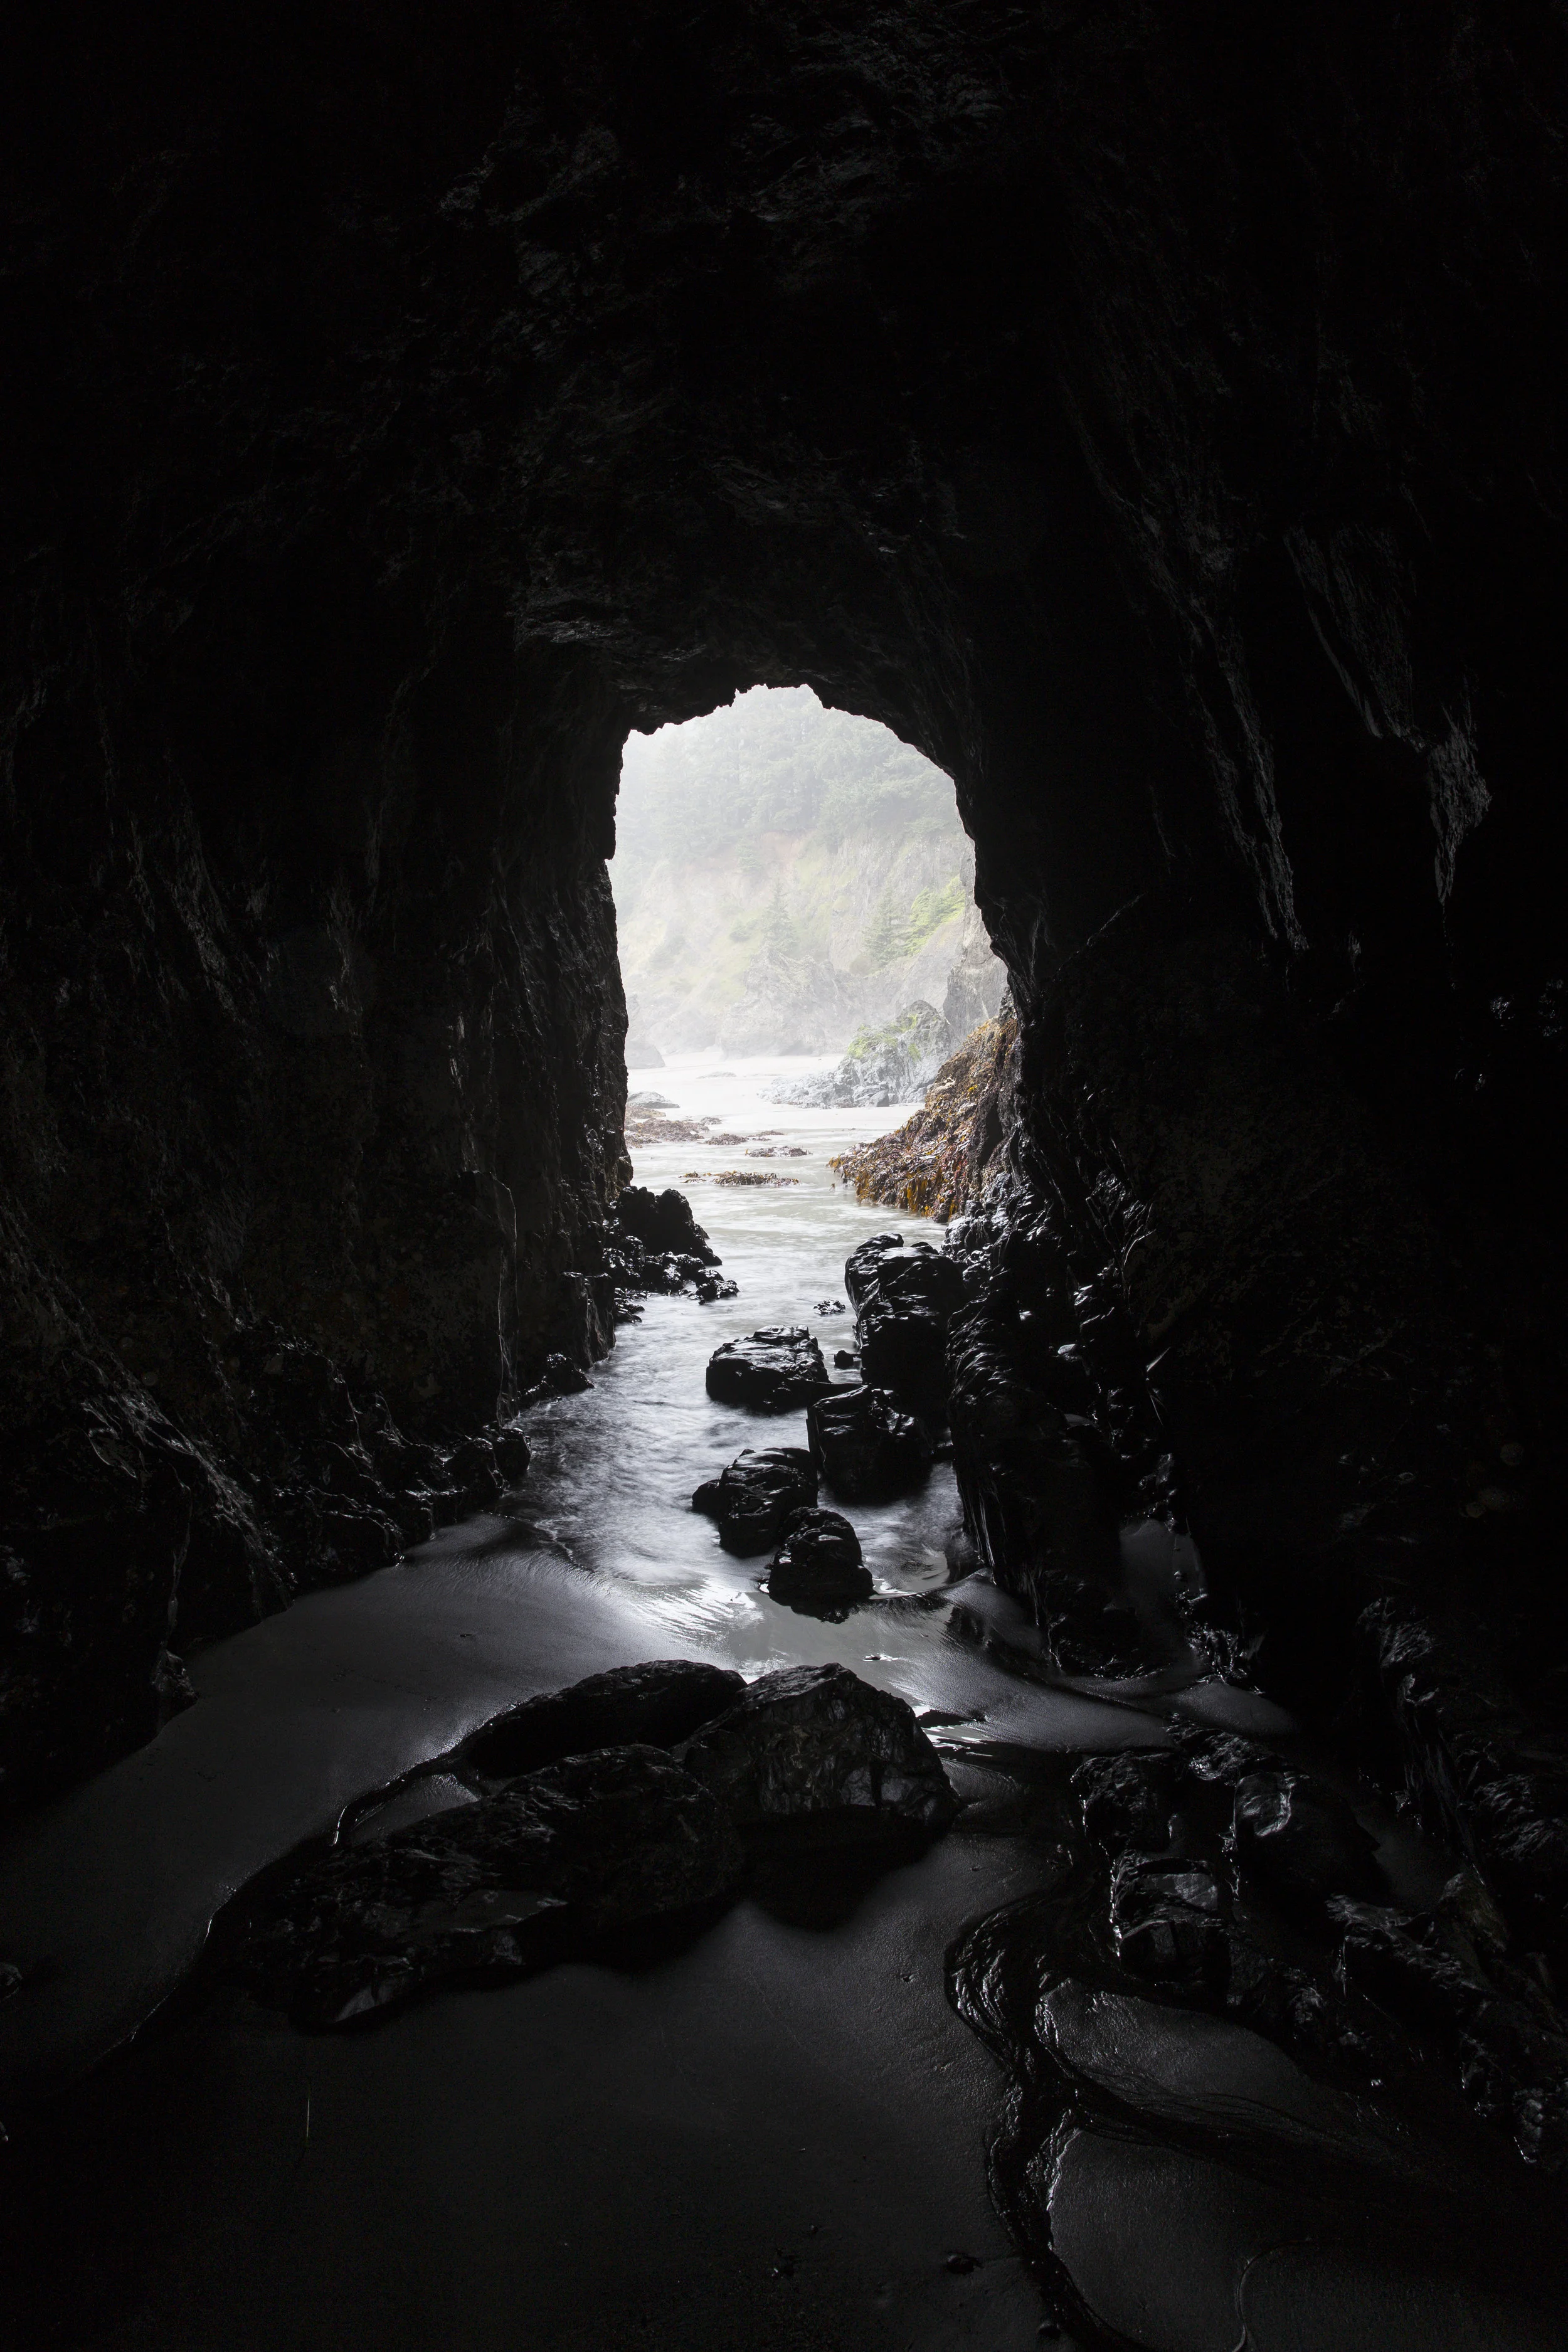
Exposure blending is when you take several photos of the same scene at different settings to create a final image that captures all of the details. In the case of the image I am using for this, I wanted to get the details of a sea cave along with the view at the end. Had I shot a single image, I would have lost detail on one end or the other: either you'd be able to see what was at the end of the tunnel or you would be able to see the detail of the tunnel, but not the view at the end.
What I did in this case was mount my camera on my tripod. For the first image, I shot the appropriate exposure to get the detail at the end of the tunnel when looking out. This creates a detailed image of the view you would see when looking outside of the tunnel, but in exchange I lost all of the details of the dark cave walls. I gradually increased my shutter speed (longer shutter times), allowing more light onto the sensor which in turn brought out more detail on the cave walls - but the opposite effects happen as I increase the shutter speed: I get more detail in the dark areas, but the highlighted areas become increasingly blown out.
Before I get into the editing process, I want to point out why I increased my shutter speed and not adjust my other settings. I left my aperture alone so that my depth of field would stay the same across the range of images - had I increased my aperture, I could have allowed more light, but in doing so I would be creating a shallower depth of field with each stop. I also didn't adjust my ISO as each adjustment of the ISO creates more noise (grain) - I wanted to keep the detail of my images consistent, hence my decision to increase the shutter speed.
To create the final image, I use Adobe Photoshop and load all of the images onto my base image. For this particular image, the base image is the one in which I can see what is outside of the cave. I loaded all of the other images into layers, from darkest to lightest - using layer masks along with the brush tool, I gradually brought in the details of the lighter images so that more and more detail from the cave would be brought out.
The final image blends the details of all of the images into one providing a spectacular view of the cave walls all the way through to the view at the very end.
Exposure blending is a fantastic technique to bring out details in scenarios where you have a lot of highlights and shadows working against you - you can create a seamless image that truly defines all ends of the light spectrum.
Final Image


